6
. Bronze SD
Investment casting, also known as lost-wax casting is the process of injecting wax into a silicone negative, and then recasting the wax positive at a foundry. As the wax melts away, the desired metal takes its place, leaving you with a metal positive. Learning about this process through a Junior studio at RISD, I explored two avenues: conatiners and jewelry.


Photos//2023
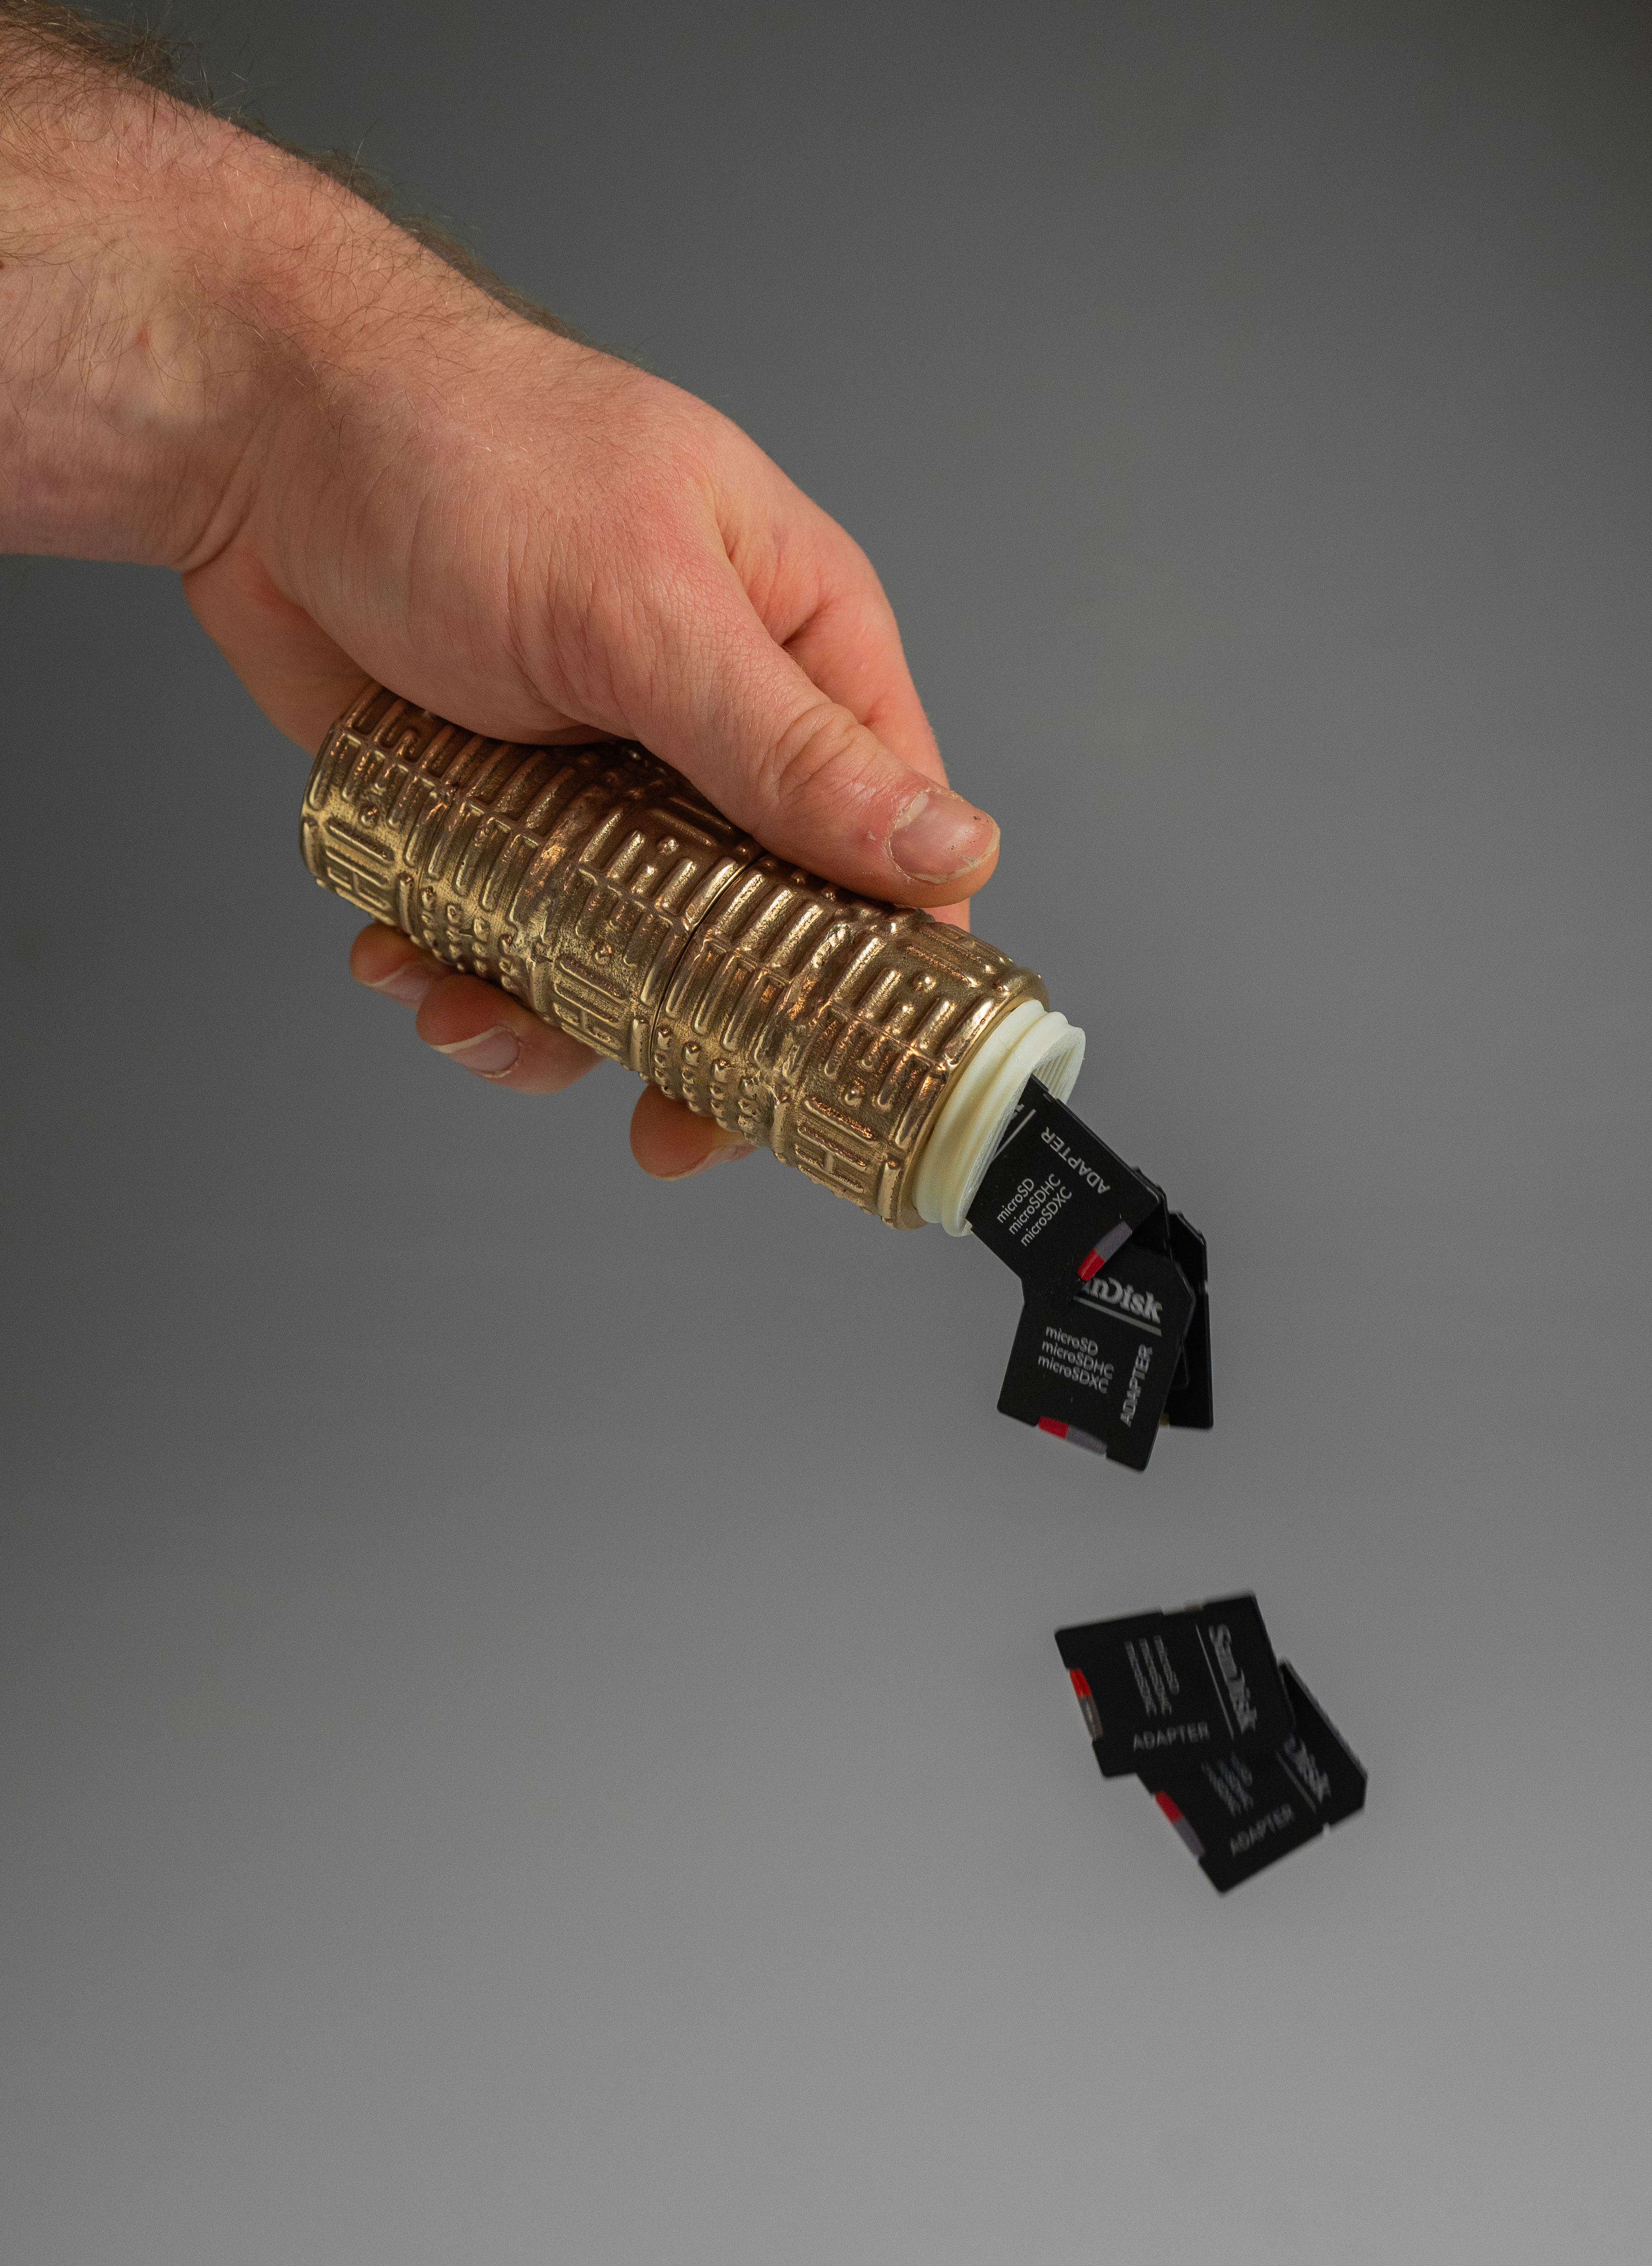
While considering ways to elegantly and safely store numerous SD cards, I was inspired to create a container composed of individual capsules. These capsules would screw together to form a compact, handheld cylinder. My process involved refining detailed resin prints and then crafting two-part rubber molds. I started by applying clay to one side of each capsule, followed by pouring the rubber. Once set, I repeated the process for the opposite side. However, I encountered a setback: I hadn't used enough mold release agent, causing the rubber halves to stick together. This forced me to improvise a parting line by cutting it out. When injecting wax, two issues became apparent: a very noticeable parting line and inadequate wax flow, which I attributed to the absence of vent holes in the design.

In my second attempt, I used polyjet printing for both the container and the lid, incorporating the injection gate and vents into the design. After meticulous resin pouring and generous mold release application, which allowed me to successfully create a set of two-part molds for wax injection. The results, however were far from what I had hoped for. Although the ten vents ensured even wax distribution, I still faced inconsistent outcomes due to air bubbles and weak adhesion. Eventually, the rubber molds began to degrade, and so too did my waxes.

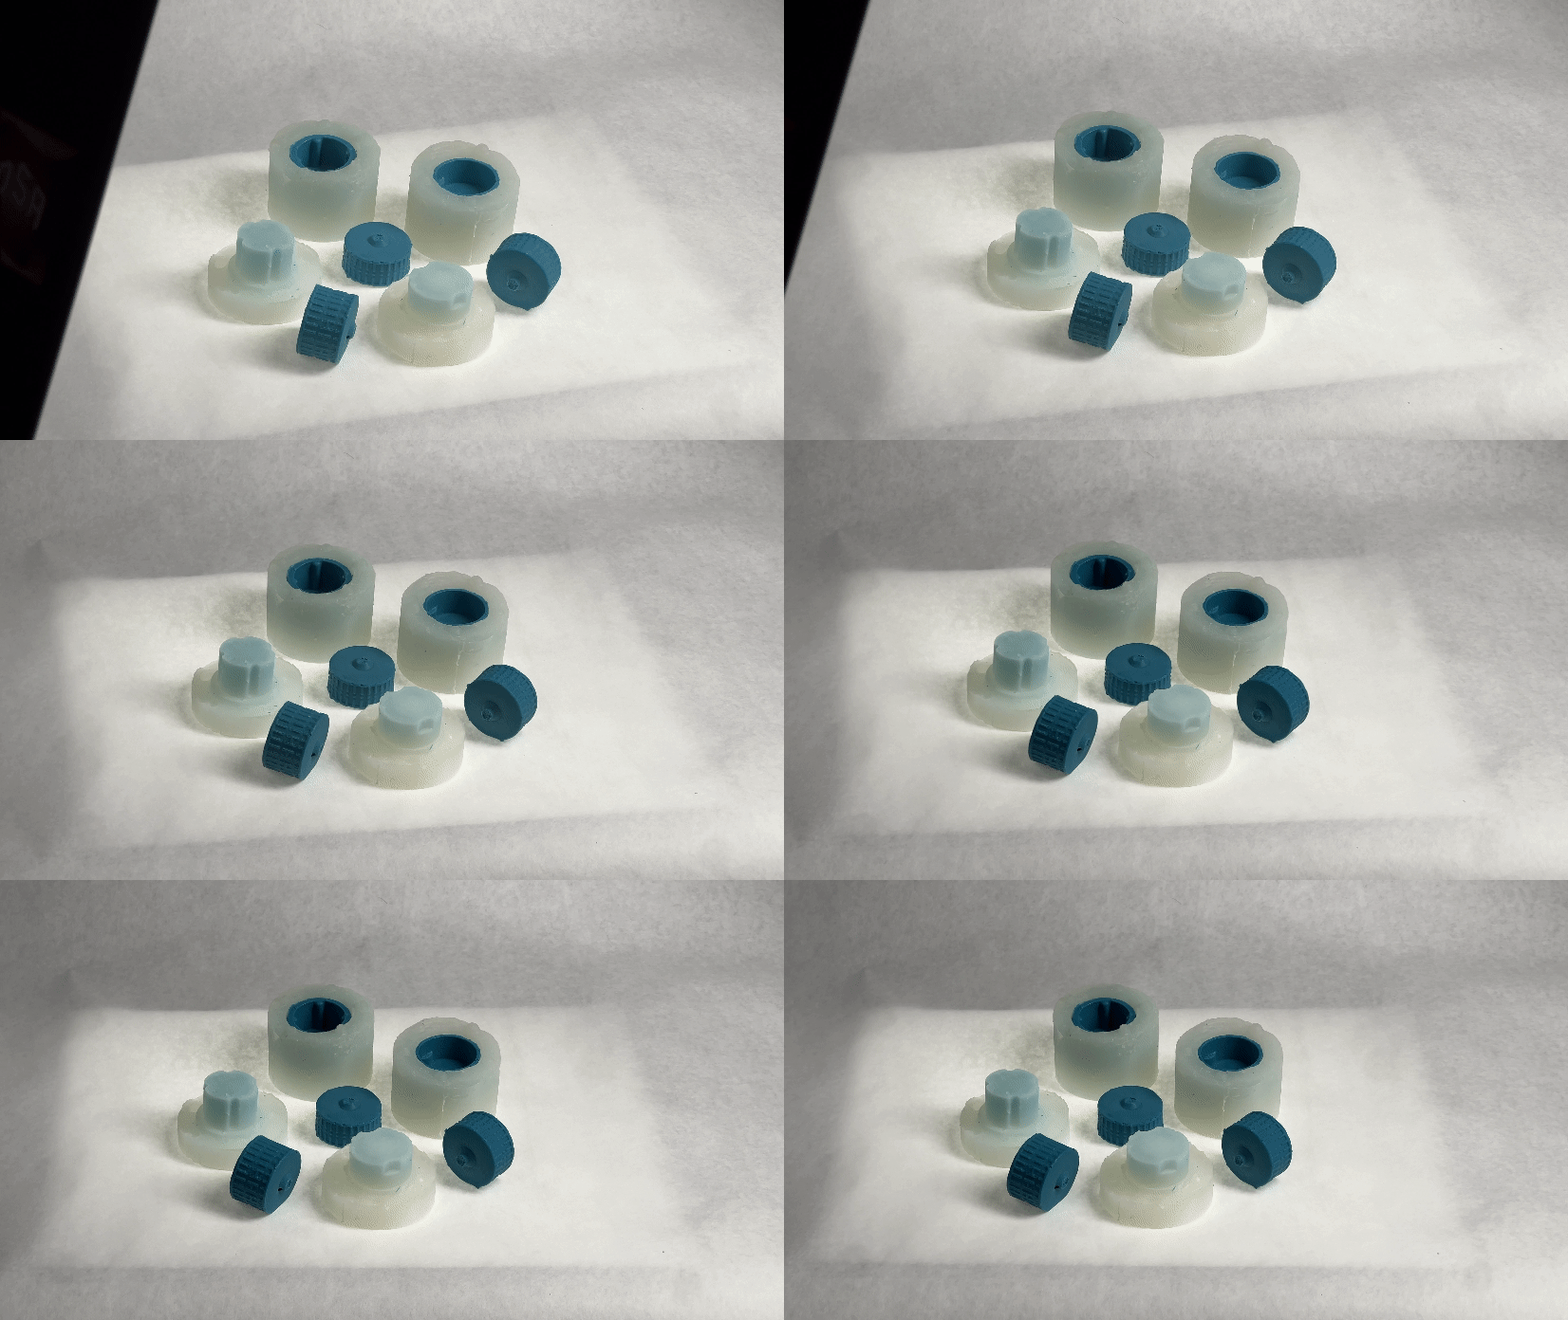
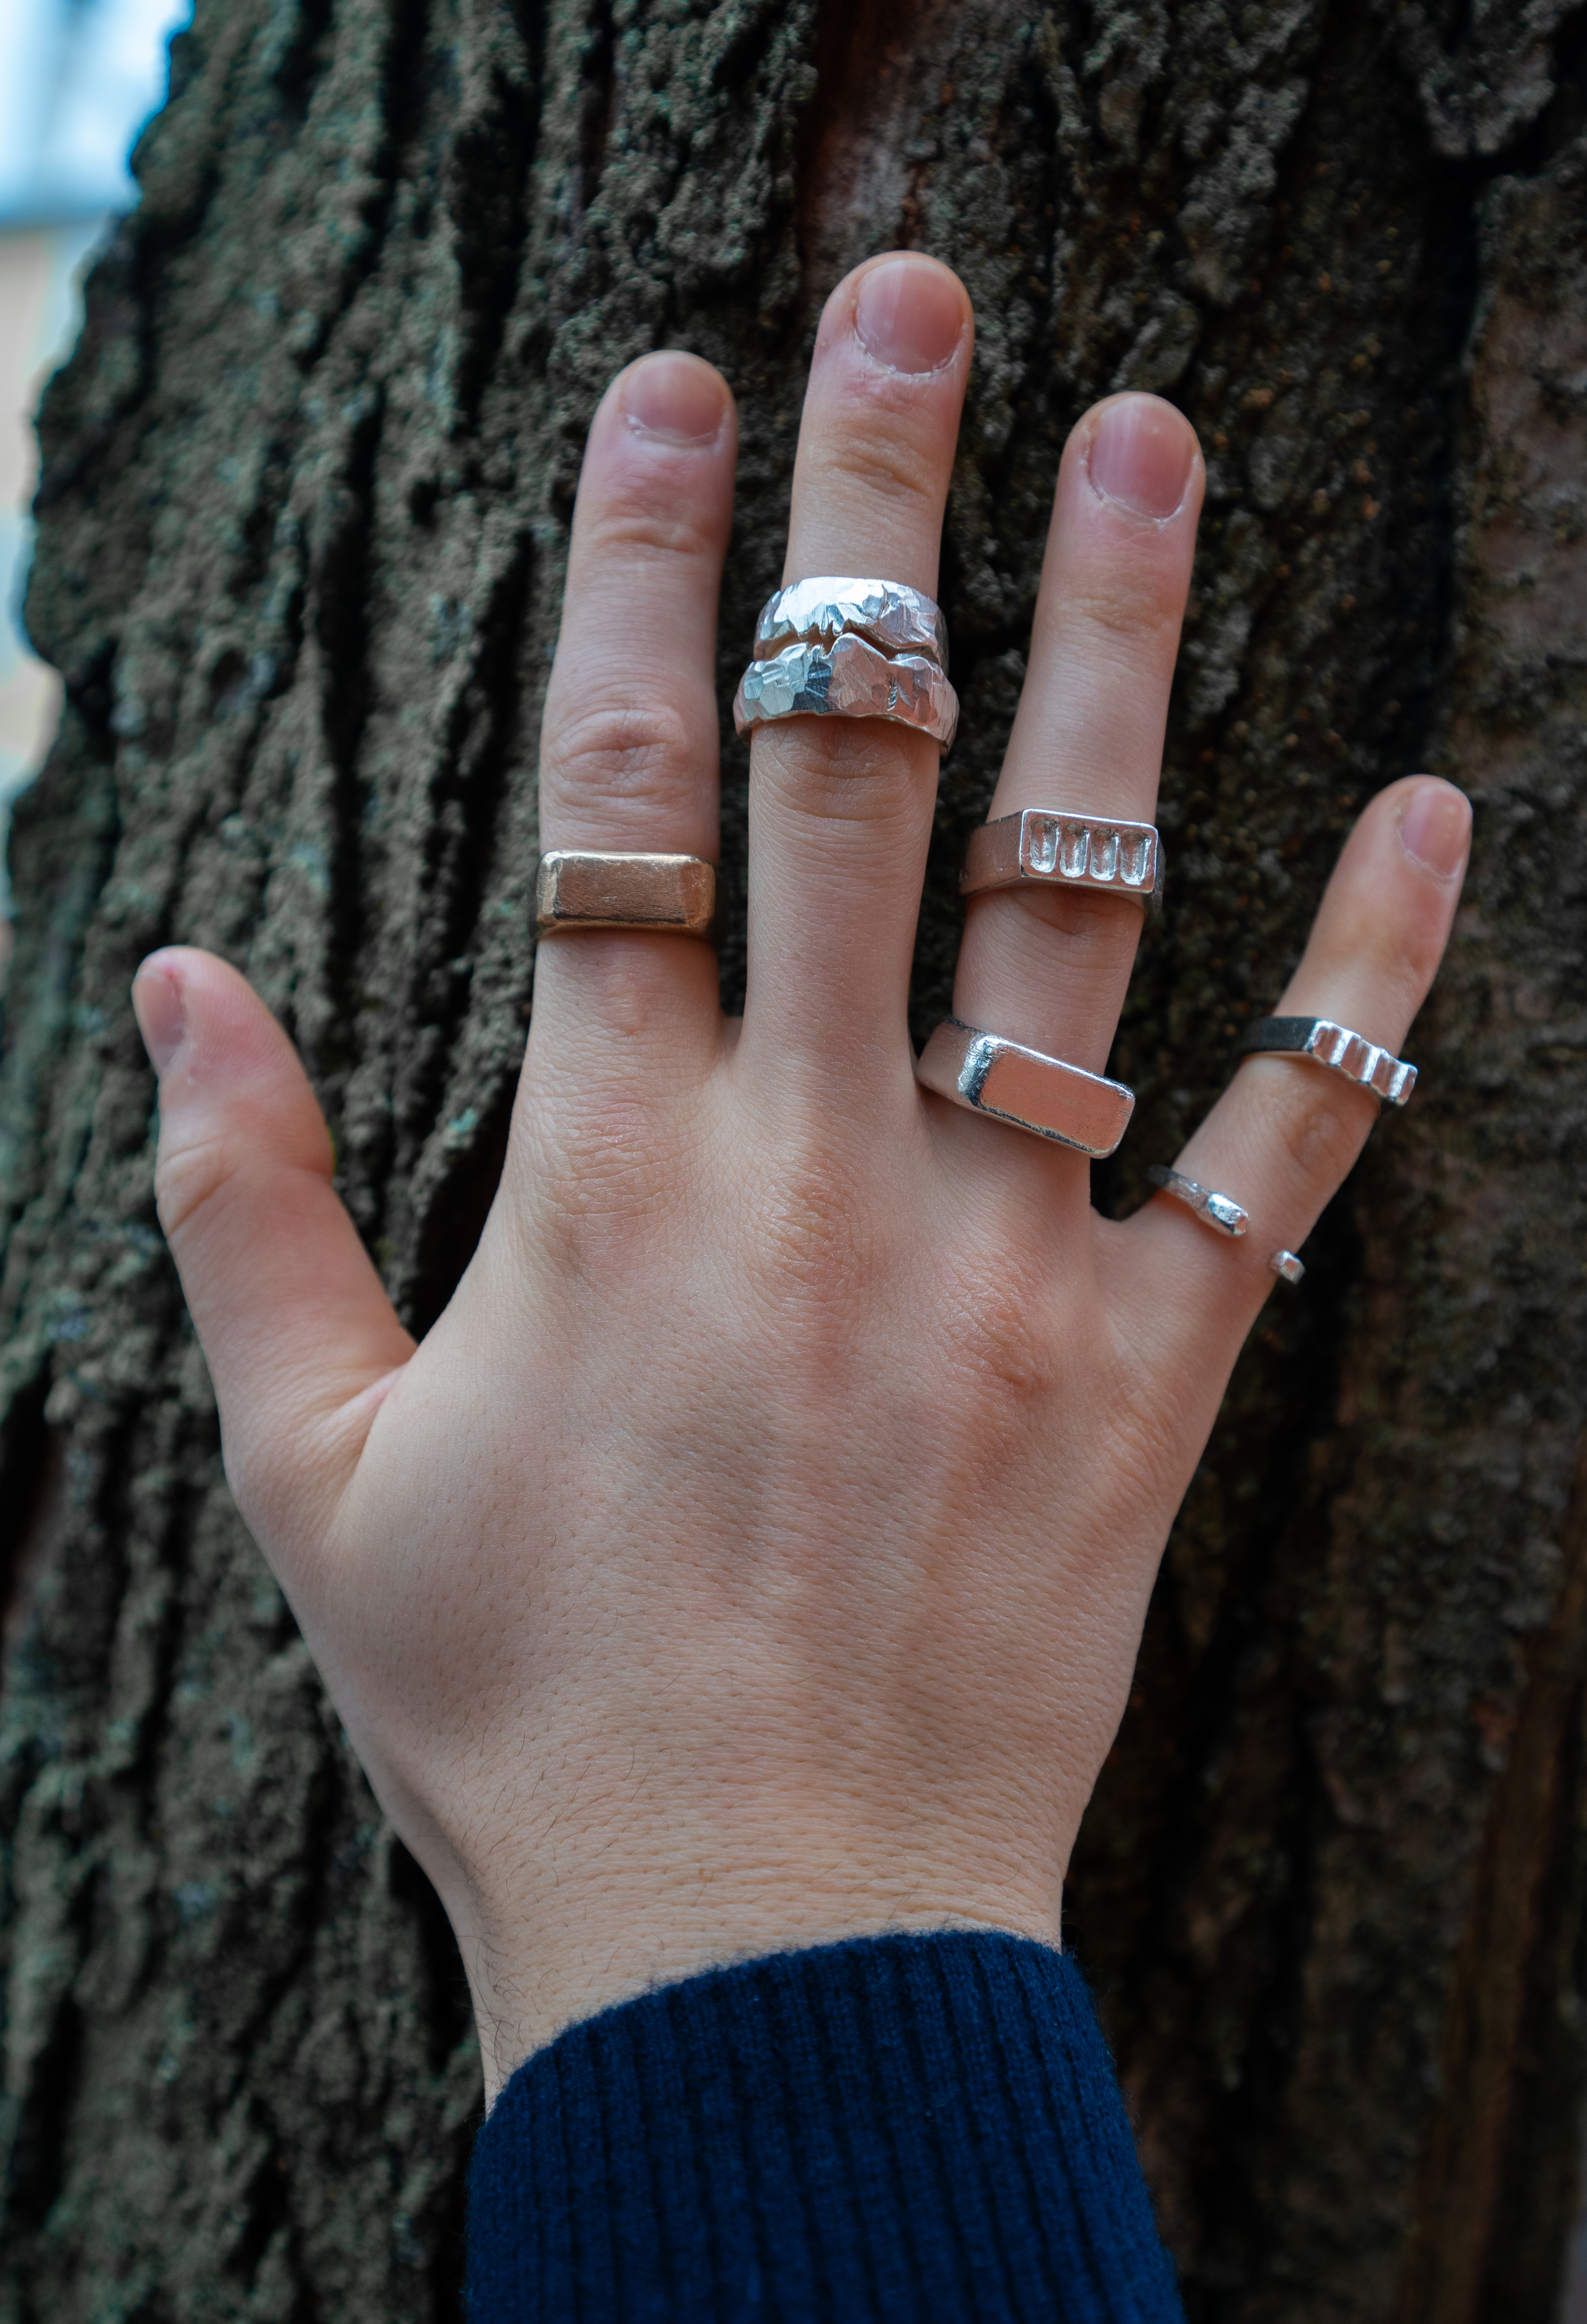
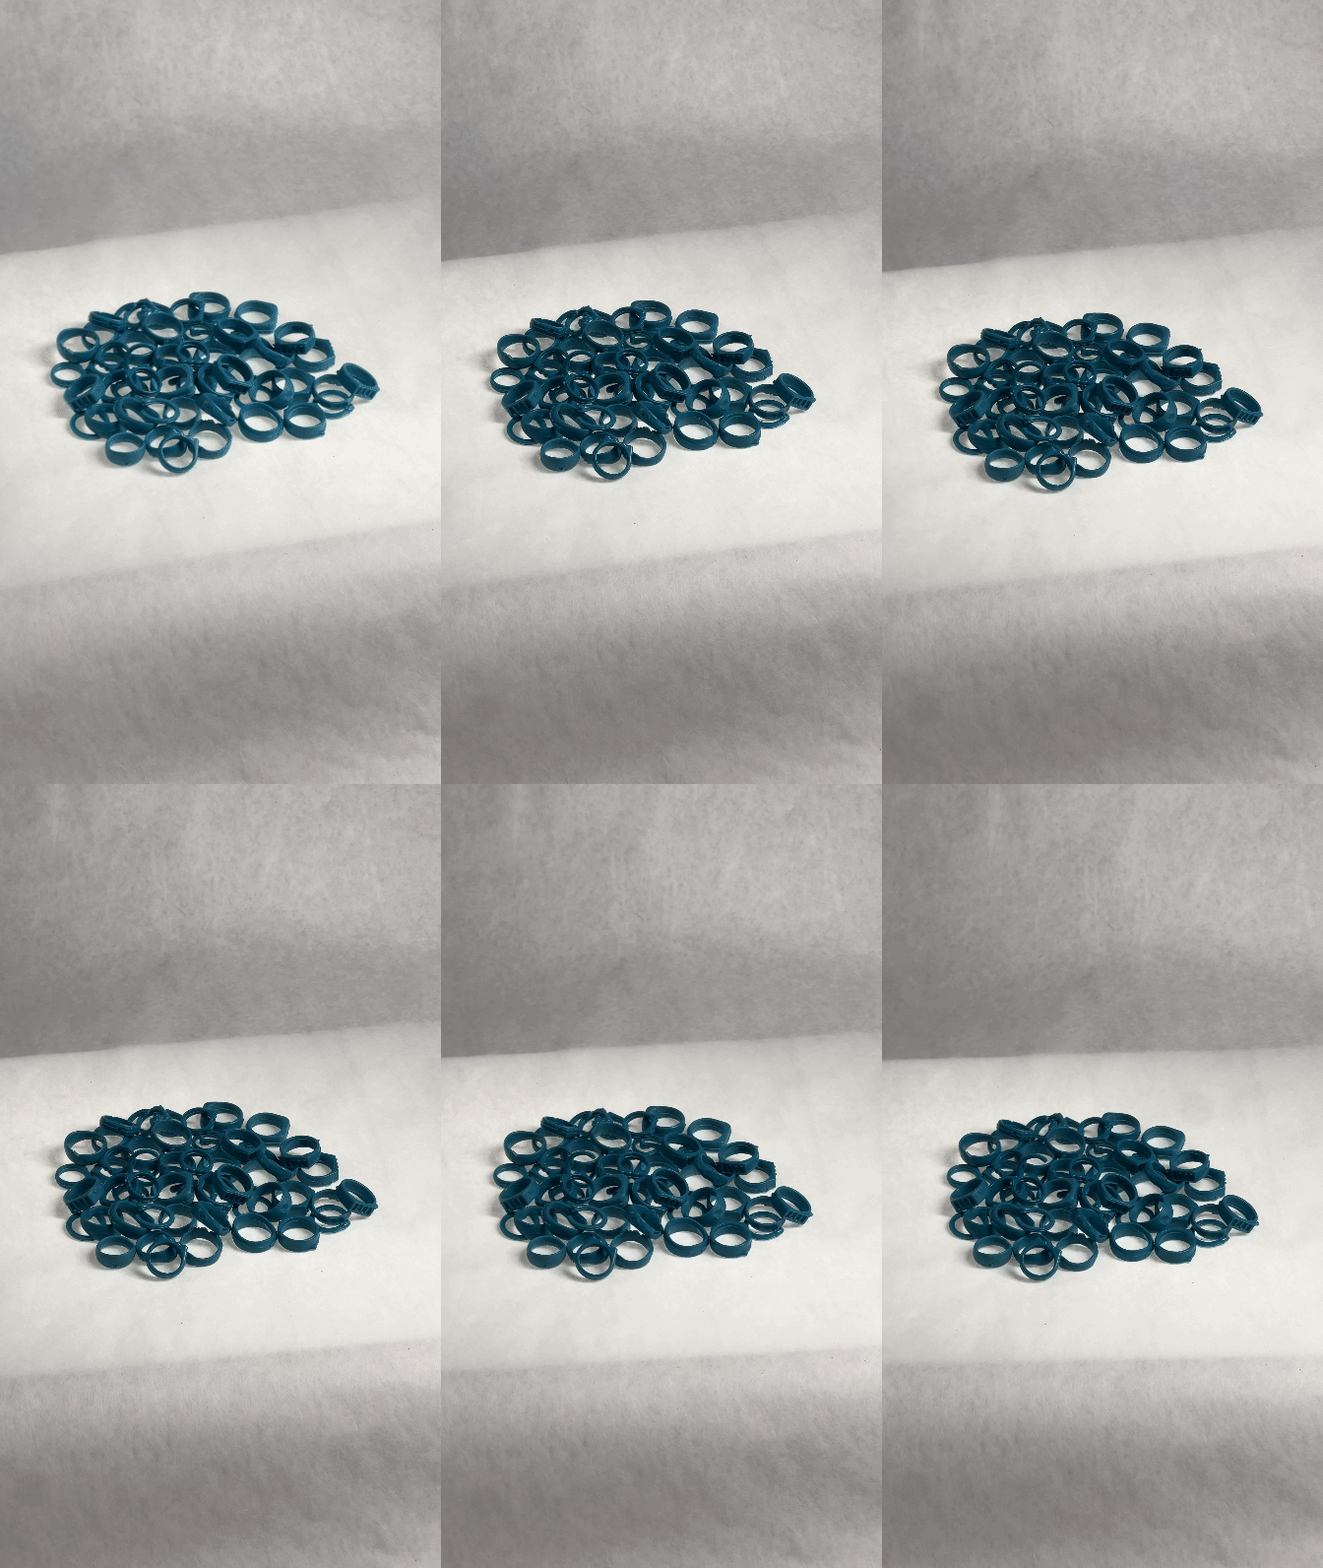
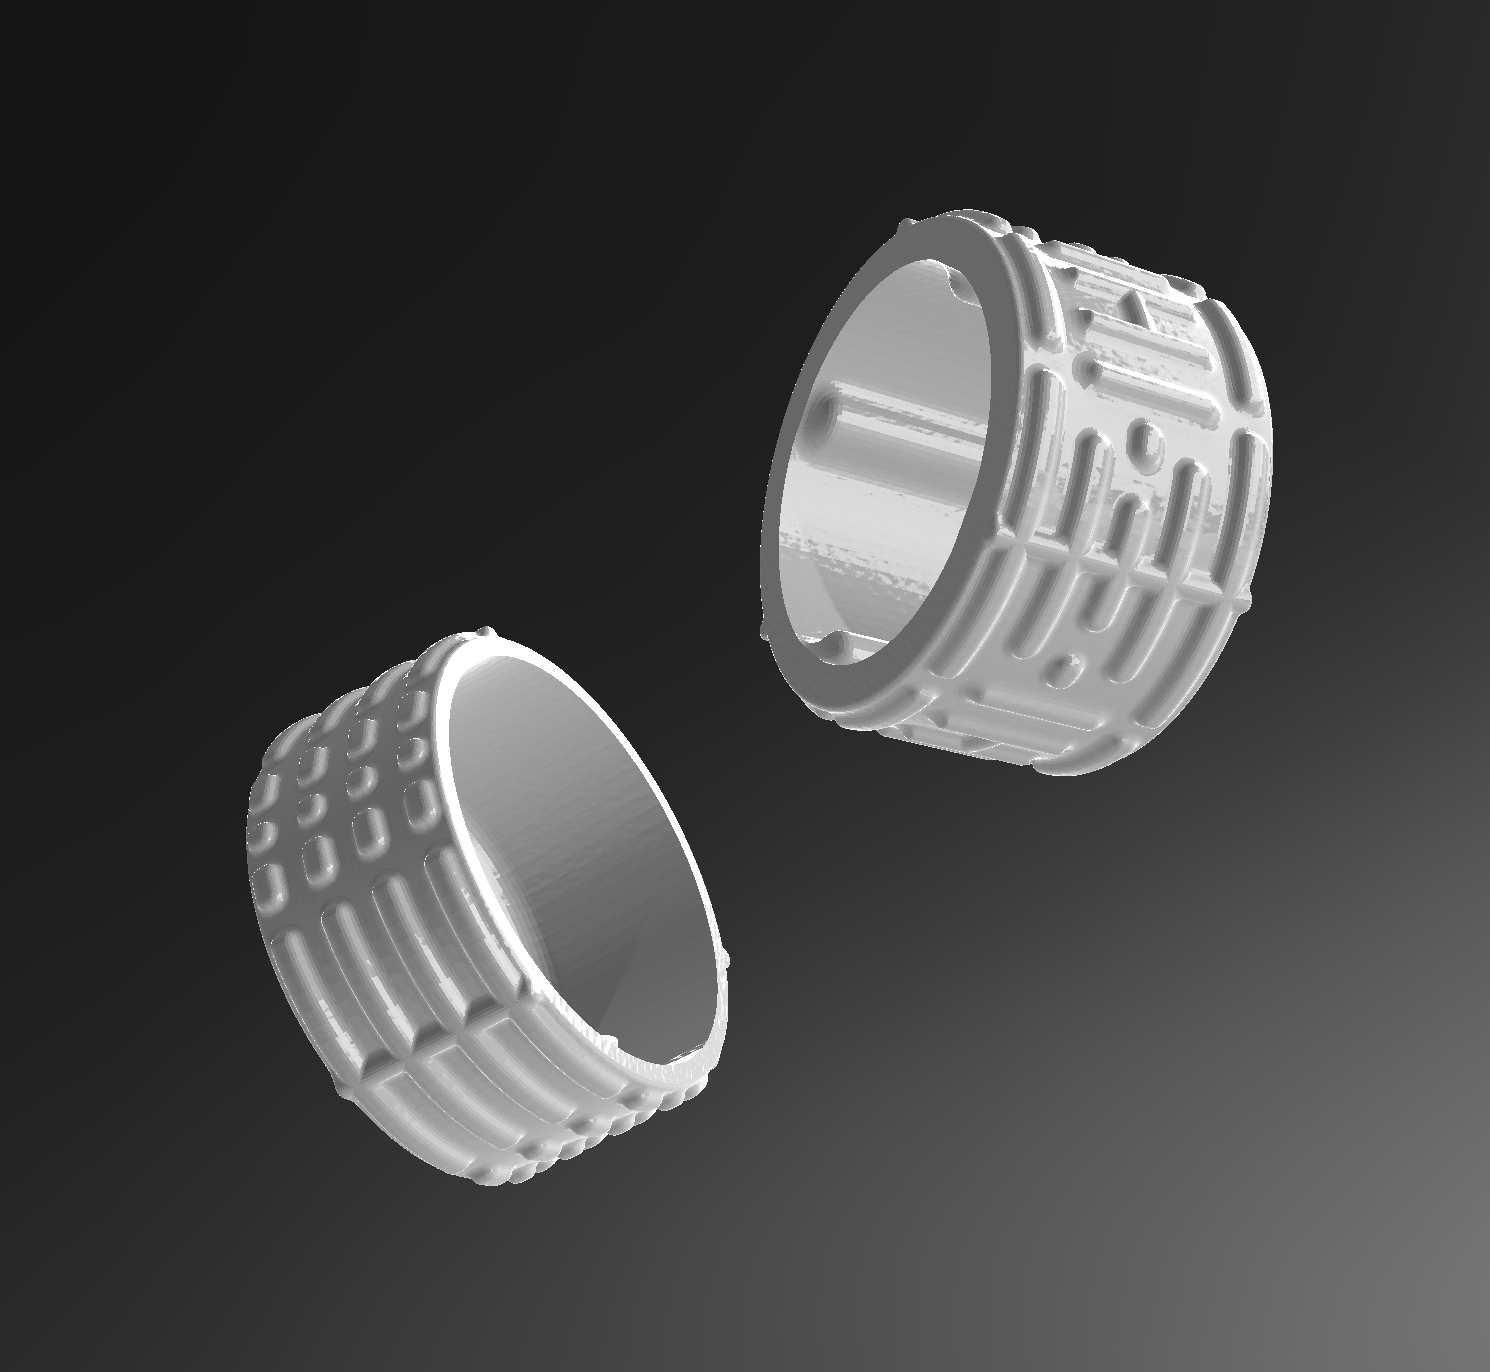
Feeling somewhat disheartened, I decided to shift my focus and work on some rings. After printing out 6 of my design, once again, I tried casting them in rubber - I material I seem to be cursed with. Unfortunately, all the wax injections turned out to be failures, which further dampened my spirits.
While reflecting on my process to pinpoint where things had been going awry, a new idea came to mind. Instead of polyjet printing the actual object I wanted to cast, why not print the molds instead? Essentialy creating my own injection mold. The rings I’d designed fortunately didn’t have any overhang, prompting me to take a bold bet and print molds for all my models. They worked perfeclty.
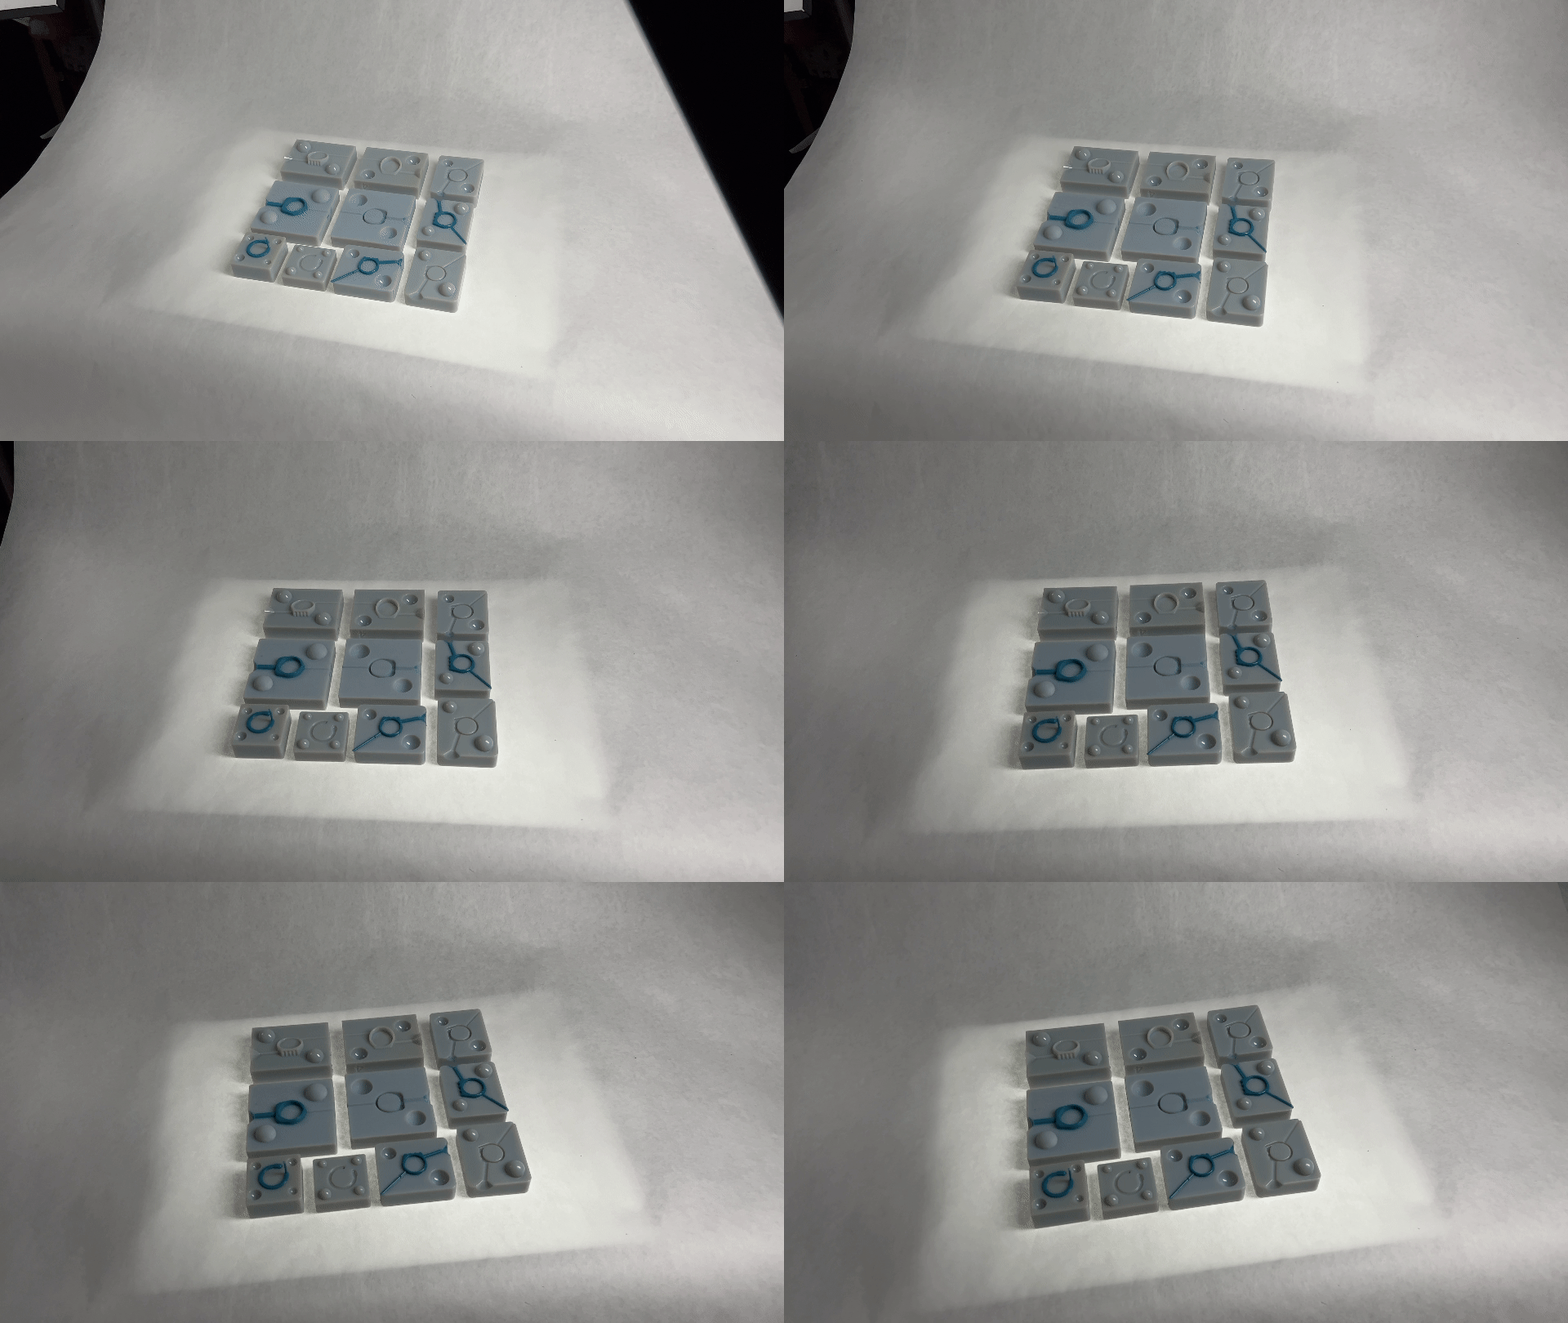
Buoyed with my newfound success, I decided to revisit the container project, applying the same concept. I reimagined the design, ensuring that each tertiary part of the container had no overhangs. This redesign enabled me to create a more efficient four-part mold separation, streamlining the entire process.
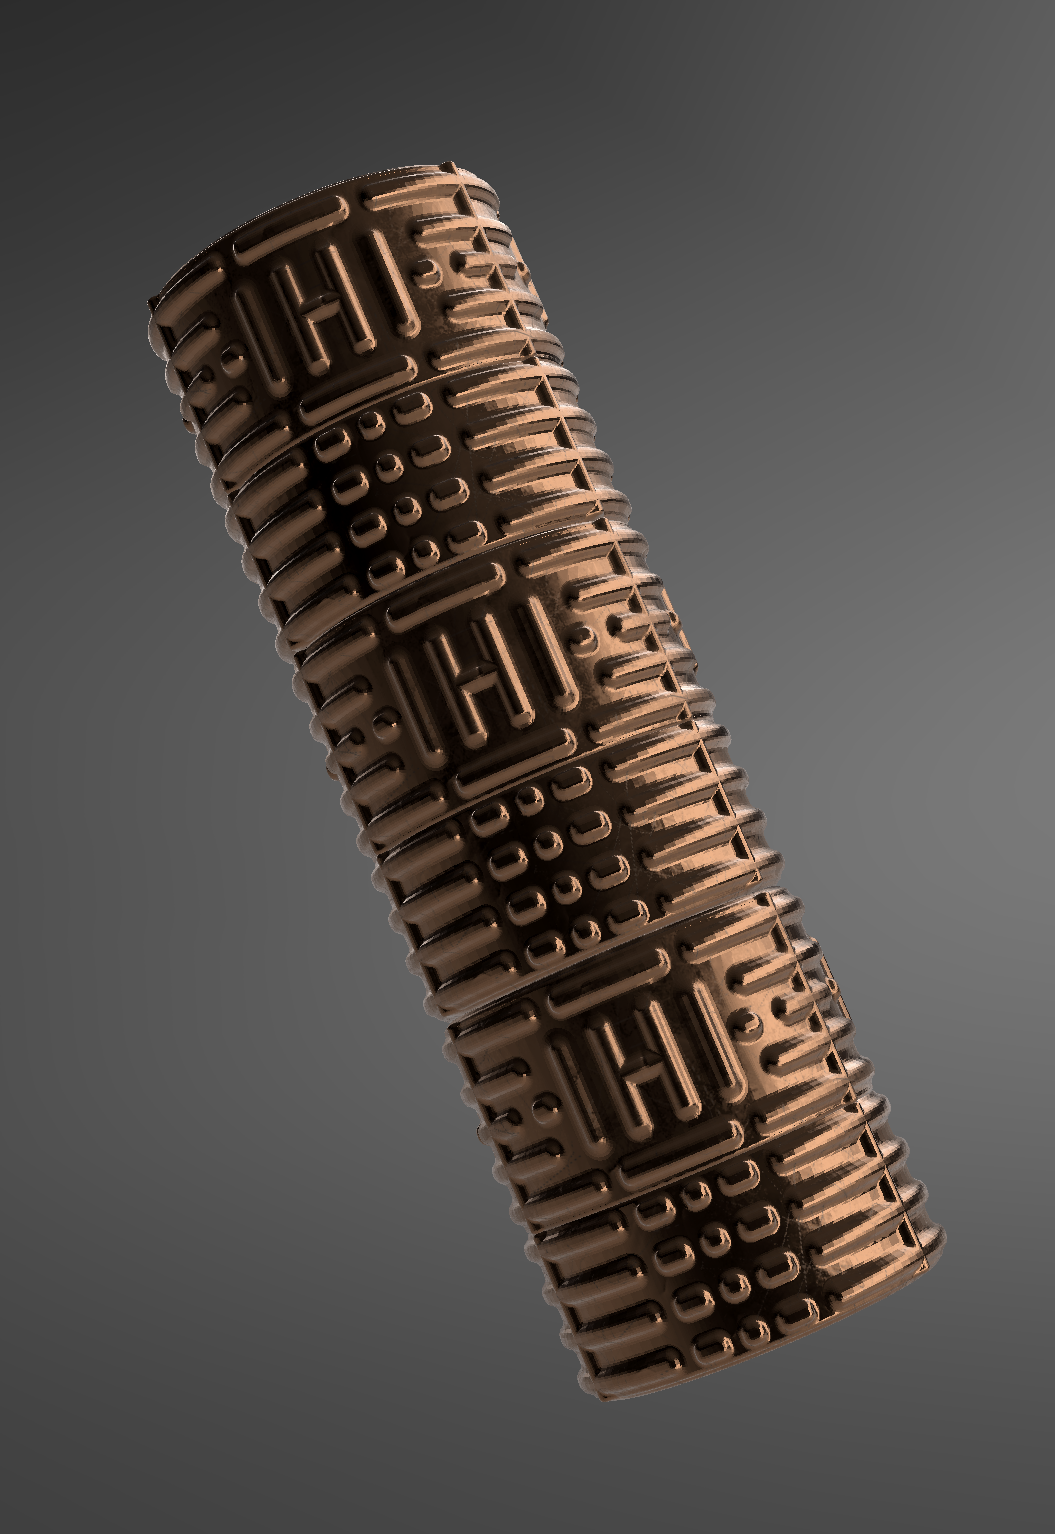
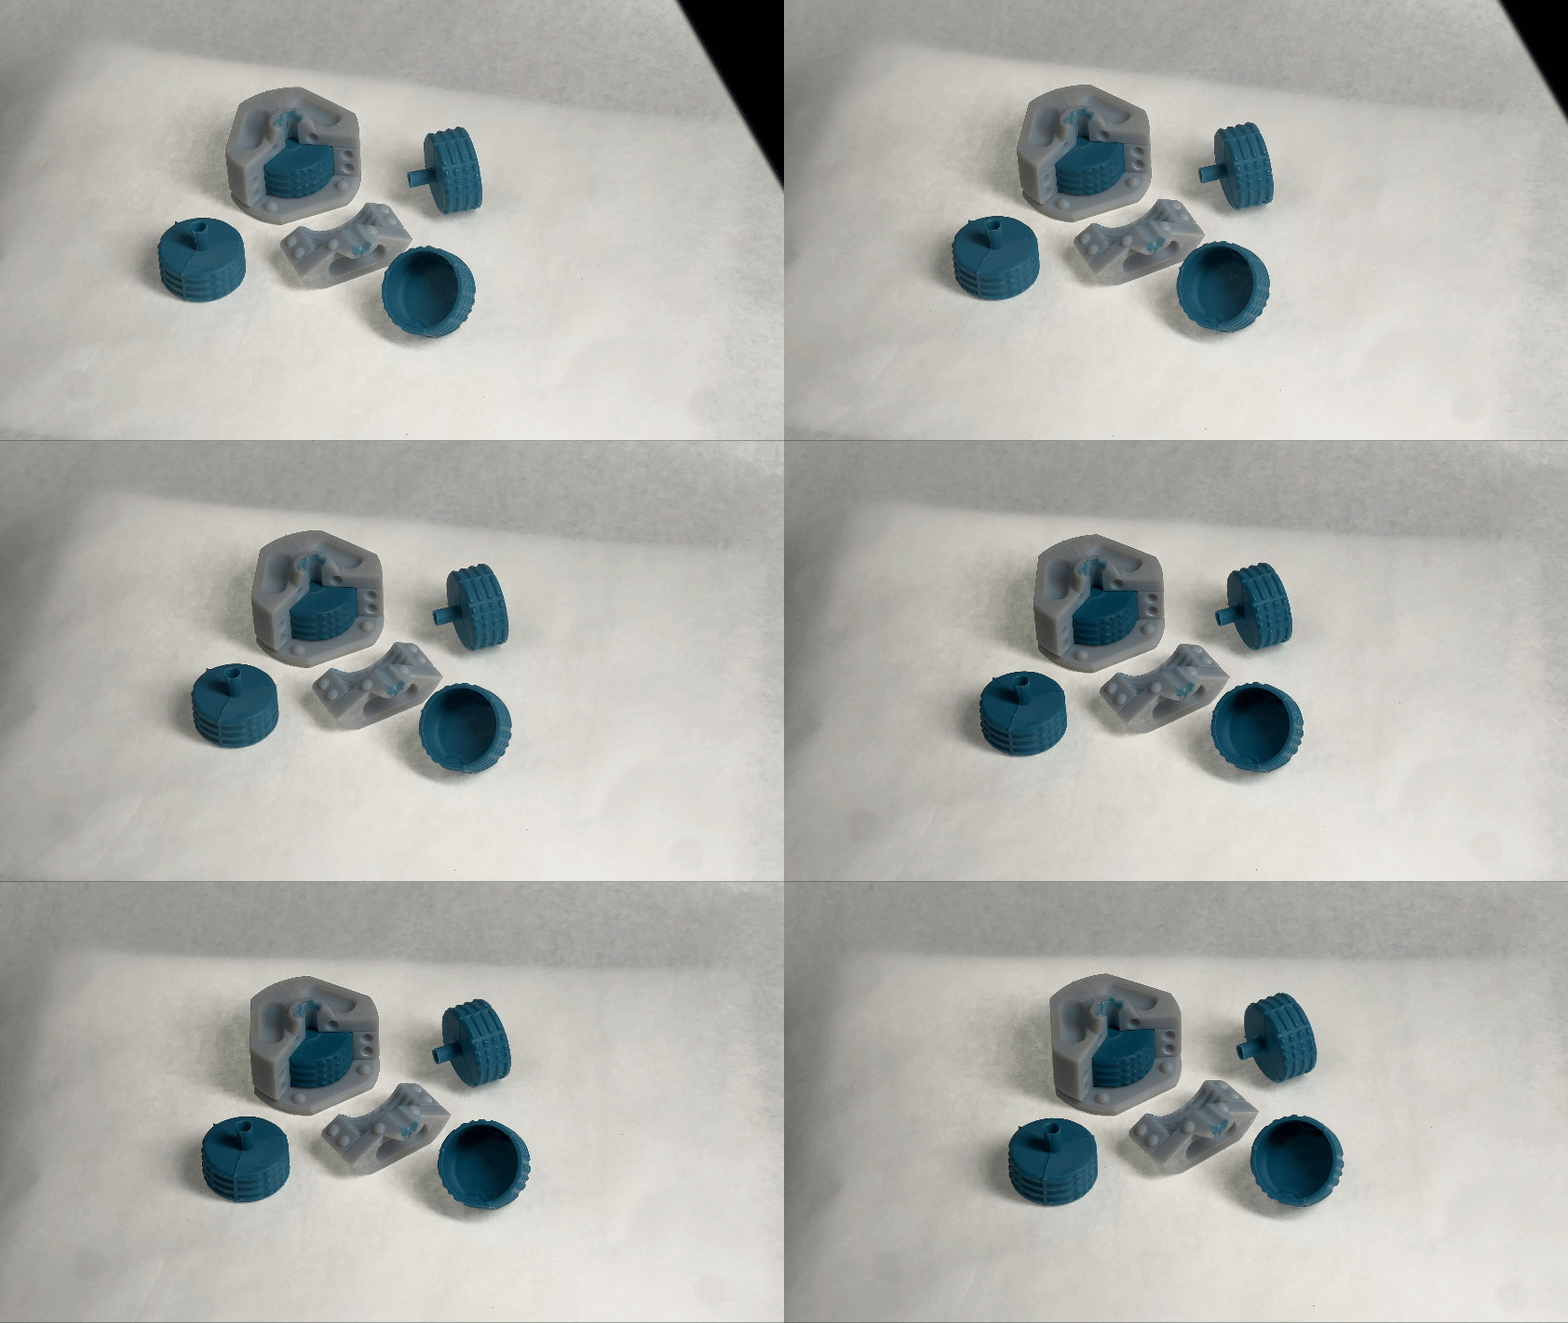
The rigid mold for the container turned out to be just as successful as the ones for the rings. Each mold was designed with three walls, featuring sets of keys for precise alignment and vent holes. Additionally, it included a core that enabled the container to have a hollow structure. After some cleanup and hot glue joinery, I took the container and the rings to a foundry, to be cast in bronze and silver.
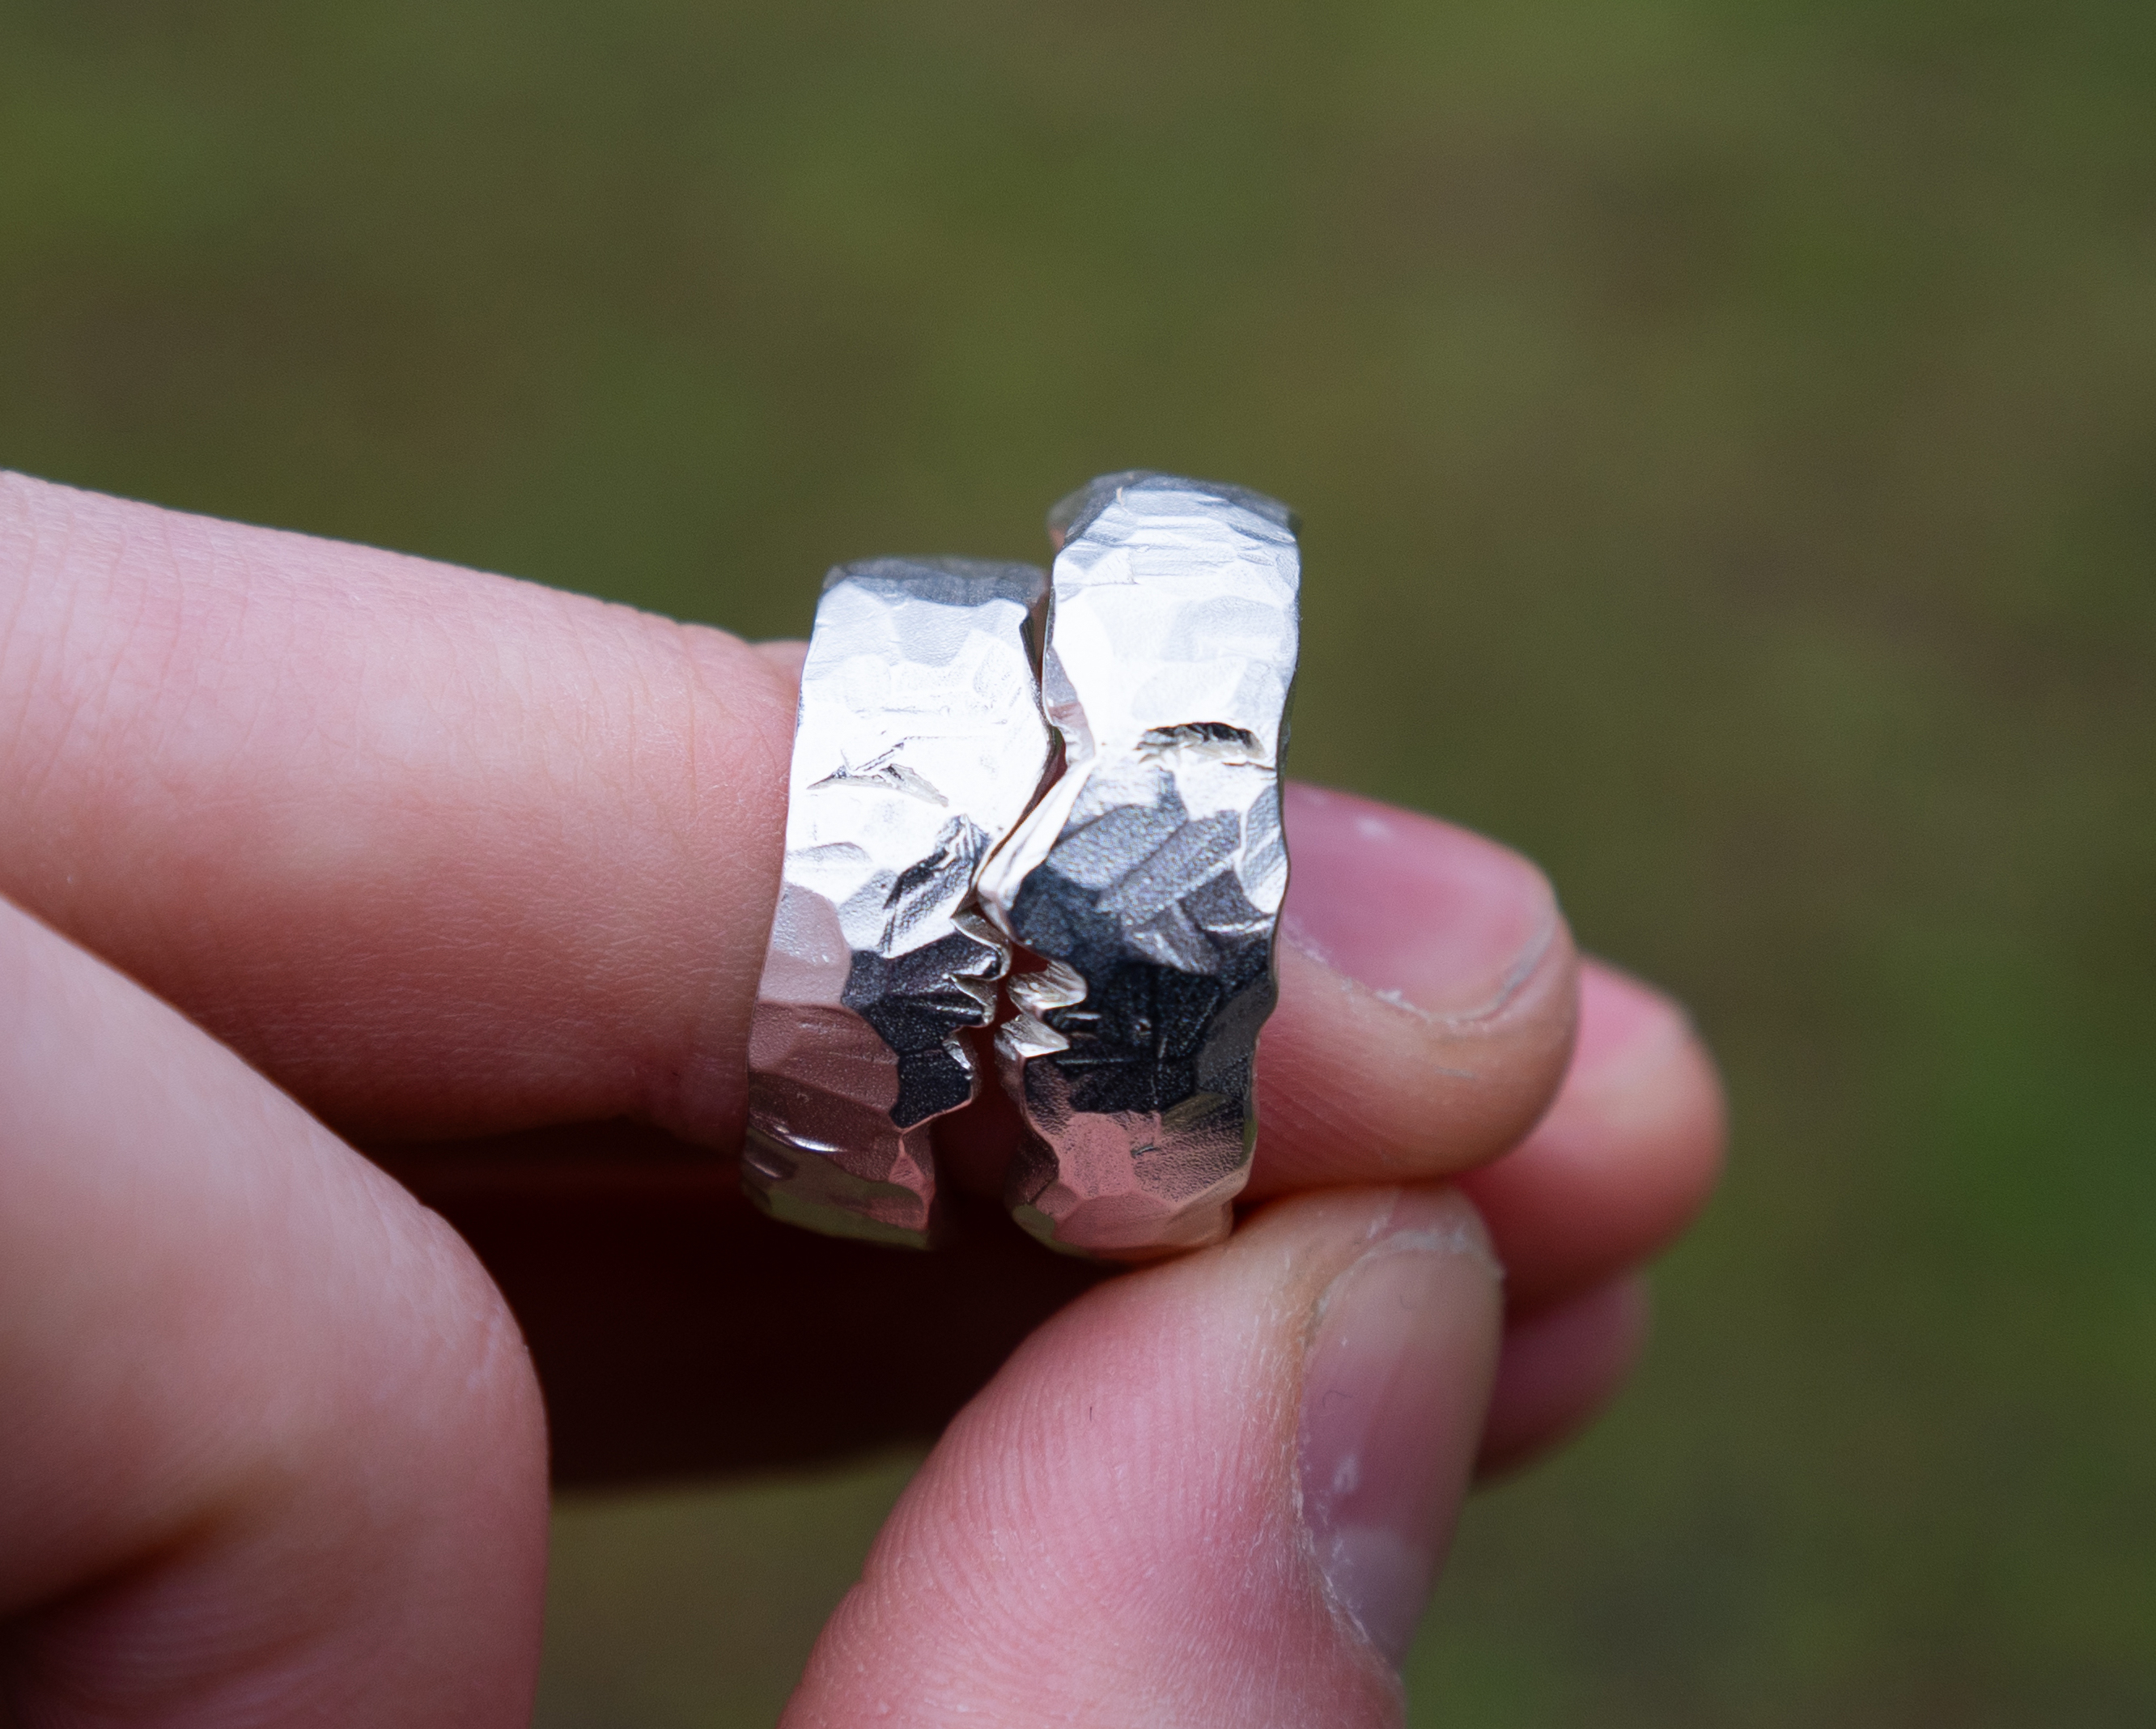
A few weeks later, I picked up the cast rings and container. They were rough and needed a lot of cleanup, but had still turned out better than I’d expected.
After degating and dremeling off excess material from the casting process, I began a three-step tumbling process on each piece to ensure a proper and desired finish.
My final results...


